The fork that decides the job
Wired or wireless: which backup camera to run
One cable you run once against a radio link you never have to thread through a bulkhead, and the four things that decide which of them suits your vehicle.
One afternoon, or none
Deciding between a wired kit and a wireless kit comes down to one plain question. Are you prepared to spend an afternoon running a cable from the rear of your vehicle to the front. If yes, a wired kit gives a direct connection with nothing between camera and monitor that can drop the picture. If not, a wireless kit removes that chore by putting a radio at the camera and a receiver at the monitor, though the camera still needs power at the rear.
Think about the vehicle you own. A car or a pickup is usually a short hop, and most cars let you lift trim over a sill by hand to tuck a run out of sight. A van, camper or long wheelbase pickup takes more time. Running cable along a long panel, under trim and up an A-pillar can be fiddly, and you might choose to pay an auto electrician an hour’s labour. That hour of labour is part of the price of a wired kit, and it belongs in the sum.
Consider how often you will install and remove any equipment. A camera that stays on the vehicle is a one-time route-finding job. A temporary or seasonal fit, such as docking a camper or fitting a trailer, makes a wireless link more attractive. Towing changes the question again. A picture you want on for a hundred miles is a different job from a picture you want for the last ten feet, and the power feed decides which one you get.
Reliability comes down to one thing. With a cable there is nothing between the two ends to fail, which is why a wired picture in year three looks like the picture on the first evening. What it costs you is the afternoon under the trim, and only you know what that afternoon is worth.
What the cable job actually is
A wired install is straightforward in principle. The camera mounts at the rear, usually near the license plate, and a single thin cable runs from the camera to the monitor. On most cars the usual route is out of the camera at the license plate, along the door sill under the trim, up the A-pillar, and to the monitor on the glass or the dash. Trim over a sill lifts by hand on most cars. That route keeps the cable out of sight and protected from wear.
At the tailgate there are two wires to consider. One carries the video and power from the camera back to the monitor through the four-pin aviation type jacket. The other is the power feed for the camera itself, typically taken from the reversing light. You will tap the reversing light so the camera gets power only when you are backing. Wiring inside the tailgate may need a short run from the lamp to the camera bracket. Expect to make a simple splice and secure it with heat-shrink or proper connectors.
Inside the cabin, find a route that avoids sharp edges and moving parts. Use existing grommets where possible. Run the four-pin cable along the door sill under the trim, keeping it clear of pedals and steering components. Up at the A-pillar you may need to ease the pillar trim to seat the cable behind it and then route it across the headliner to the dash. Mount the monitor either on the glass or the dash, and plug the cable into its input.
Testing comes last. Power the camera from the reversing light and verify the image. Adjust camera angle before trimming or sealing any holes. A wired run takes time, but once finished, the picture runs directly across one cable with nothing in between to drop the signal.
What the radio saves, and what it charges for
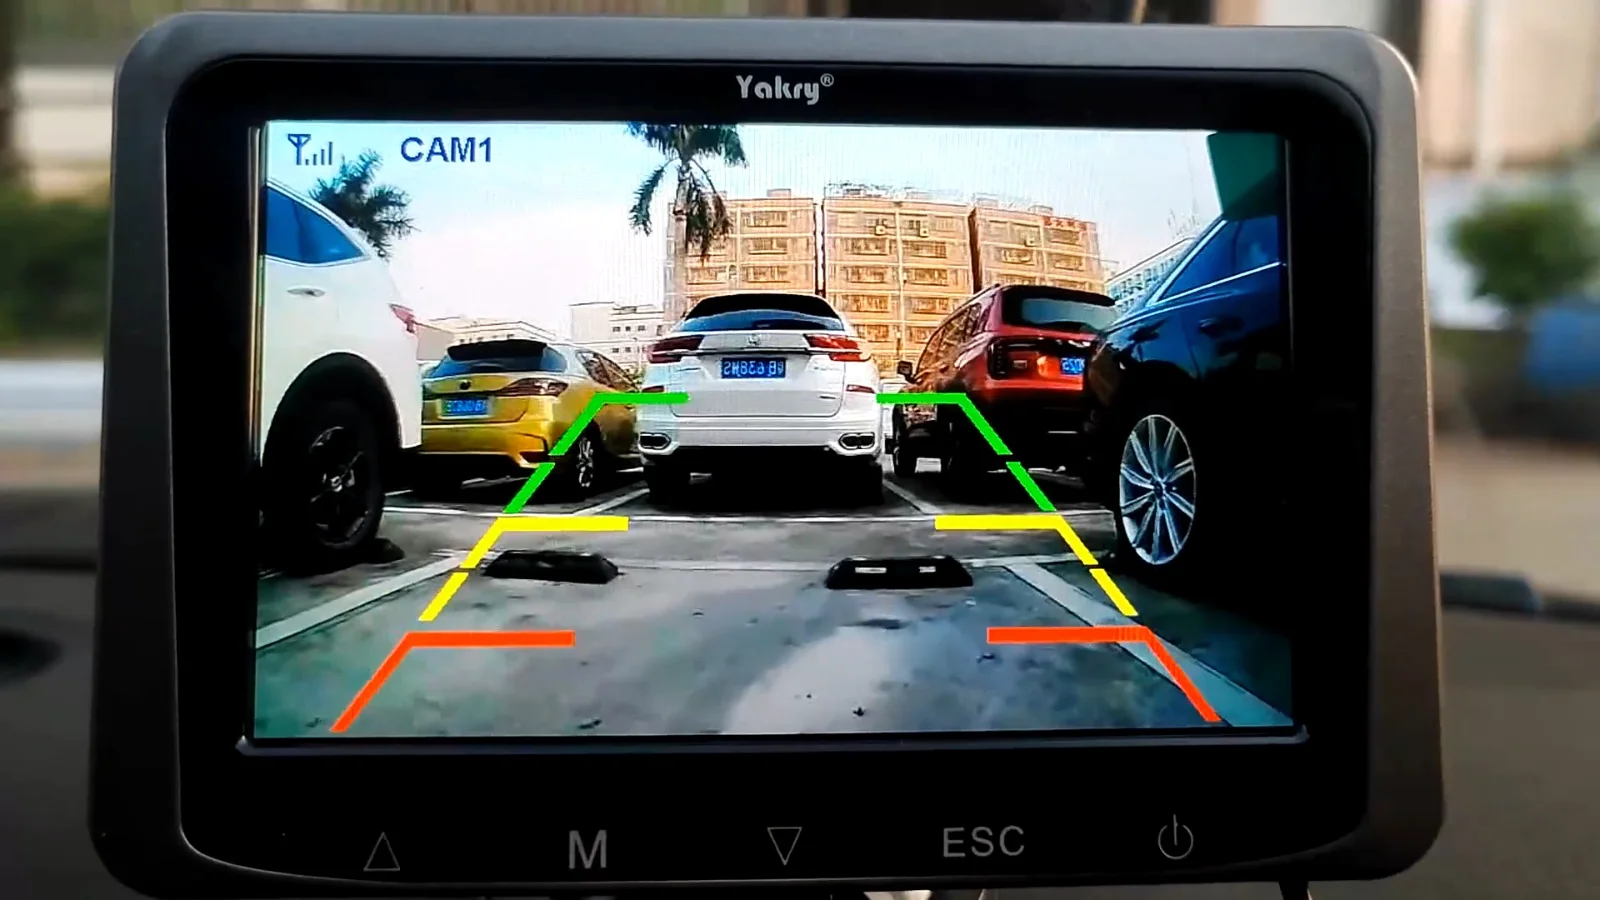
A wireless install removes the need to run a cable through the cabin. The transmitter sits with the camera at the rear and the receiver plugs into the monitor. That means no video cable through the doors, up the A-pillar, or across the headliner. For many owners that saving of time and effort is the primary appeal. It is also cleaner for temporary fits, trailers or rentals where you do not want to alter trim.
Wireless kits here operate on 2.4 GHz. Under 47 CFR 15.5 an unlicensed radio has no protected right to a frequency. It must not cause harmful interference and it must accept interference from authorized stations, other radiators and industrial, scientific and medical equipment. If the link does cause harmful interference, operation must stop until the cause is fixed. In practice that means a radio link can be very reliable, but it can also be affected by the environment between transmitter and receiver.
What the radio has to cross matters. Distance reduces signal strength. A solid steel or aluminum body blocks more than glass. A bed liner or a hard canopy sits between transmitter and receiver and can weaken the link. Appliances inside a camper, such as a refrigerator or a water heater, add further attenuation. A loaded trailer or a campsite full of routers and rigs fills the band and can increase the chance of interference. The wireless option trades the labour of a cable run for the variable of radio performance.
You still need power at the rear. Most installations draw it from the reversing light, or from running lights and tail lights on a camper. One camera in this range carries its own 20,000 mAh battery with a solar panel, which removes the need to tap vehicle wiring for some applications. A wireless kit saves the cable work but requires you to accept the radio link’s exposure to distance and obstacles.
Where the radio starts to lose
There are clear situations where wired wins despite the extra work. Long vehicles and campers often separate camera and monitor by a substantial distance. A motorhome or a fifth wheel commonly puts forty to fifty feet plus appliances between the ends. A radio operating at 2.4 GHz must cross that much distance and may pass through refrigerator cases, water heater cavities and composite walls that reduce signal strength. In these cases a wired run is more predictable.
A loaded trailer or a hard canopy over a pickup bed will change radio performance. Steel and aluminum work as near-perfect shields for 2.4 GHz energy. A bed liner with heavy embossing or a toolbox sitting squarely between transmitter and receiver can cut a wireless link to the point where the image drops intermittently. Parking at a busy campsite makes the problem worse. Many rigs and routers share the same band and raise the noise floor, which increases the chance of interference under 47 CFR 15.5. That shared environment is something a cable does not face.
Long towing setups can also benefit from a wired approach because the cable stays inside one continuous harness when routed through a hitch or a plug designed for that purpose. If you plan to use a trailer with a monitor on the towing vehicle, think about how the trailer will affect the signal path when loaded. For most pickup owners who keep the camera on a short vehicle and only occasionally tow, wireless often works well. For owners of motorhomes, fifth wheels, or setups with permanent hard canopies and heavy appliances, wired is the safer bet for a steady picture.
Where the monitor takes its power
Choosing the camera’s power source governs when the picture appears. The usual source for the camera is the reversing light. Tapping the reversing light means the camera receives power only when you are backing. In that setup the monitor that is fed from the reversing light wakes in reverse and sleeps otherwise. This arrangement reduces drain on the vehicle’s electrical system and prevents the monitor from staying on when you do not want it.
An alternate choice is to feed the monitor from a constant 12V socket. That keeps the monitor awake whether you are in reverse or not, which is useful while towing. When you tow, you may want the picture on continuously to monitor a trailer, hitch, or surrounding traffic. Feeding the monitor from the 12V socket gives you that behavior, while the camera still powers from the reversing lamp unless you choose otherwise. On campers it is common to power the camera from the running lights or tail lights, which keeps the camera available when driving at low speed or maneuvering in tight spots.
One camera in the range carries a 20,000 mAh battery and a solar panel. That model provides an option to avoid tapping vehicle wiring for people who prefer a self-contained power source. It can simplify installs where accessing the reversing light is difficult, though you must consider battery charging and placement for the solar panel. Whatever source you choose, remember the system shows a picture. It does not change the vehicle’s built-in rearview image requirements. Also bear in mind that a monitor that sleeps will not show a continuous feed when you need it unless you have chosen a constant supply.
Measure first, order once
Before you order a kit, take a few measurements and notes. Measure the straight-line distance from the camera mounting point to the chosen monitor position. For wired installs check whether the 23 feet cable reaches the route you plan. If not, note whether the 43 feet cable option covers the run. Write down the route points where trim will lift, where grommets exist and where you will pass through the tailgate or bulkhead. A photograph of the sill and A-pillar trim helps when you return to the job on a Saturday.
For wireless installs measure the separation and note any large metal panels, bed liners, canopies or camper appliances that sit in the path. Make a short list of likely obstacles: a hard canopy, a filled trailer, a refrigerator in a camper wall, and so on. If the run between camera and monitor will cross forty to fifty feet plus appliances, consider a wired option. Note the monitor size you prefer from the range. Screens here come in 4.3, 5, 6.9, 7 and 7.2 inches. Also record whether you want infrared night vision and whether an outdoor housing rated IP69K is important for the camera location.
Finally, decide how you want the system powered. Record whether you will tap the reversing light, use running or tail lights on a camper, feed the monitor from a 12V socket while towing, or use the battery-and-solar camera option. With those measurements and notes written down you can pick the kit that fits your vehicle and the real-world obstacles it presents. Keep the paperwork in the glovebox. It makes the Saturday fit smoother, or it speeds up an hour with an auto electrician.