Mounting on a rig
Where a camera goes on a camper or a trailer
High on the back wall or down at the bumper, powered from the running lights or from its own battery, and the point at which a second camera stops being a luxury.
Start at the back wall
Start by looking at the rear wall of your rig. Many campers built in recent years leave the factory pre-wired. Look for a small bracket bolted above the rear window, a sealed hole nearby, and a covered connector tucked behind an access panel. If you find those three items the job changes. A camera made for that bracket needs no drilling. A short adapter lead with the pig tail plug that matches the factory connector is all that joins your camera to the rig’s power.
If the bracket and connector are not there your camera will mount on its own bracket. In that case a hole must be drilled through the skin and sealed afterward. Plan the hole location with care. Keep it where a mounting plate sits flat and where wires can be routed inside without tight bends. The housing must be sealed against the weather after the cable is run. We advise testing the camera and monitor before final sealing so you do not trap a problem behind siding.
Opening any small cover or inspection plate often reveals whether a factory connector exists. If you find a loose lead or the bracket bolts then the next step is to match the camera to the bracket type the rig accepts. If you do not, accept that drilling and routing will be part of the fit. The choice changes the labor and the tools you will need. It also changes how tidy the final installation looks. Either way, take photographs of the rear wall and the area behind the skin before you cut or bolt anything. The photos help if you need to consult instructions or compare connector types.
High or low, and what each one shows you
Mounting height changes what the picture answers. If you place the camera high, above the rear window, the view looks down the length of the rig and shows the site behind it. That perspective helps you judge angles and see where the back of the camper will swing as you back in. A high mount gives a longer view. It helps when you are reversing onto a site alone and need to see the approach and the arrangement of vehicles, trees and the campsite surface.
A lower mount, near the bumper, tells you something different. It shows the ground and any short obstacles immediately behind the rig. A post, bollard or a low retaining wall that sits close to the bumper shows clearly from that angle. The low perspective does not give the broad approach view, but it answers whether the trailer’s hitch or bumper will clear an object right behind you.
Most owners end up wanting both views. Monitors in this range take a second camera and split the screen, and one will accept up to four cameras. Where only one lens is going up, the mounting height follows the question you most need answered. If you reverse into tight sites by yourself often, a higher mount tends to be more useful. If low obstacles worry you more than room at the site, choose the lower position. A camera on the tow vehicle shows the trailer, and a camera on the trailer shows the road behind it. They are not interchangeable answers.
Where the camera finds power
Power at the rear of a rig usually comes from the running lights or the tail lights. Tapping into those circuits gives a permanent 12 volt source at the rear, but it influences when the monitor and the camera are active. A monitor that is fed from the reversing light will wake only in reverse. That setup works if you want the screen off while driving and on only when backing. One fed from a 12 volt socket stays on continuously. That is the behavior you want if you plan to watch the camera while towing.
There is another option if you prefer to avoid wiring. One camera in the range carries a 20,000 mAh battery and a small solar panel. That model powers itself at the rear and removes the need to tap the rig’s lighting circuits. The battery option does not change the video feed or the image resolution. It simply frees you from running wiring to a tail lamp feed. It also means the camera can be live even if no vehicle power is present at the back.
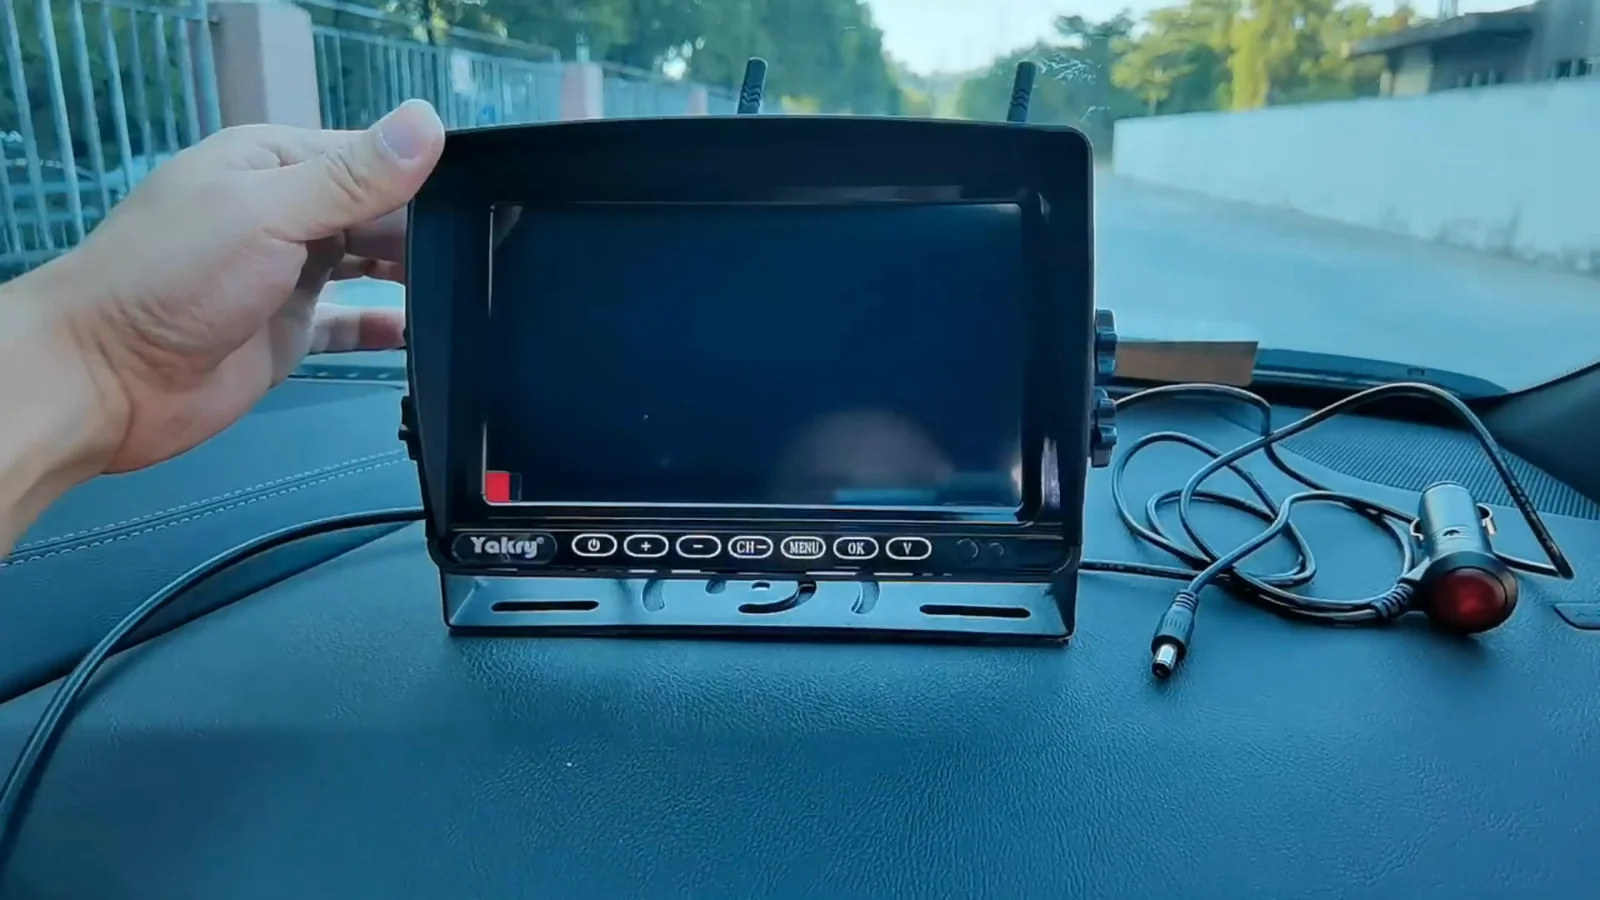
When you plan the installation think about how you use the monitor. If you want the picture only when reversing then a reverse-light wake is appropriate. If you want to see while towing and during lane changes then a continuous 12 volt feed or a battery camera is the better choice. Also check whether the monitor you plan to buy needs a separate power lead or takes its feed from the vehicle. Screens in the range go up to 7.2 inches and that size influences where you mount the display and how you route power to it.
Forty feet of rig, and what is inside it
Distance is the problem a rig sets. On most rigs there will be forty to fifty feet between the camera and the monitor. Between those points you have an aluminum skin, a refrigerator, a water heater and insulation. Those metal panels and appliances are not empty air. They reflect and attenuate radio energy and they move reception into a marginal zone.
Wireless links for these systems work on 2.4 GHz. The federal condition these radios run under, 47 CFR 15.5, gives them no claim on the band at all: they must not interfere with anyone and they have to live with whatever interferes with them. In practice that means a campsite is a busy band. Many rigs and many routers put energy into the same slice of spectrum your camera uses. The combination of crowded radio space and metallic obstacles in the signal path is where wireless links struggle most.
You will see the difference in reliability. Line of sight and minimal metal between the camera and the monitor give the cleanest link. When the path crosses an appliance bay or runs adjacent to aluminum panels you should expect occasional dropouts. A wired run avoids those issues but it is often harder to route in a camper. If wireless is your only realistic choice place the camera and monitor to reduce the number of large metal obstructions between them and test any link at your typical campsite before final sealing.
When the second camera earns its place
A second camera stops being a luxury when you need more than a single, fixed perspective. Hitching alone is a common moment for the second view to become essential. Placing a camera at the coupler simplifies aligning the hitch ball and the trailer tongue when you do not have a helper. A second camera is also commonly placed on the curb side to watch turns and monitor clearance when you swing. Those two positions answer tasks that a single rear-facing camera cannot.
Adding a second camera changes power and wiring requirements. Both cameras need power at the back, or a monitor that takes two wireless inputs. Your monitor will typically split the screen so you can see both views at once. Some monitors accept up to four cameras, which gives flexibility for a coupler view, a curb-side view, a rear view and a view inside a cargo area or a door.
Think about obstruction and mounting angles for the extra camera. The curb-side camera should be positioned to show the trailer’s wheels and the road edge during a turn. The coupler camera should be low enough to see the hitch alignment without being in the way of tools or the spare tire. Night operation differs as well because the cameras in this range are 1080p with infrared night vision, so low-light viewing is available. Adding cameras also increases the number of wireless links in your campsite airspace, and that can raise the chance of interference. Balance the need for distinct views against the additional wiring and potential signal complexity.
Five minutes on the back wall before you order
Before you click to order take a final walk around with questions in mind. First, confirm whether the rig has the factory bracket, the sealed hole and a covered connector above the rear window. If those parts are present you will likely avoid drilling. Second, decide the view you want most. If the back of the rig needs to be seen for approach then a higher mount is the start. If low obstacles are your worry then choose the lower position or plan a second camera for the coupler.
Third, note how far the monitor will sit from the rear. If the distance looks to be in the typical forty to fifty foot range and the path crosses an appliance bay or metal panels, plan for wireless dropouts or consider a wired run. A 2.4 GHz link works on the condition that it accepts interference from other equipment. Fourth, choose whether you want the camera to be live only in reverse or available while towing. A monitor fed from the reversing light wakes only in reverse while a monitor on a 12 volt socket stays on. If you prefer to avoid wiring, consider the battery camera with its 20,000 mAh pack and solar panel.
Finally, check the spec points that matter to you. Screens in the range go up to 7.2 inches. Cameras in the range offer 1080p resolution, infrared night vision and outdoor housings rated to IP69K. With those facts matched to your mounting choices you will be ready to make an informed order and to plan the route for wiring, brackets and final sealing.