The plate above the rear window
What a pre-wired bracket on a camper already gives you
Most campers built in the last few years leave the factory with a bracket, a sealed hole and power waiting behind a cover. Here is how to tell whether yours did.
What pre-wired means on a back wall
When a camper is described as pre-wired for a camera we mean three factory steps have already been completed. First, a bracket is bolted through the back wall above the rear window. That bracket sits where a camera designed for that pattern will later attach. Next, the manufacturer has drilled a hole through the bodywork and sealed it. The seal keeps water out and leaves a clean path from the bracket into the interior where cables can run. Last, a power lead is run to that spot and tucked behind a small cover.
The cover is a small plate set above the rear window. Behind it you will find a connector on a short lead. The connector is intended as the factory power and signal point for a camera installed in that bracket. If you remove the cover you will not need to cut new holes or reseal the skin when you fit a camera made for that bracket pattern.
A camera built to match the bracket pattern simply drops on and uses the same screws that are already in place. Nothing else is drilled and nothing needs to be sealed again. That is the core point of pre-wired. It reduces the number of steps a fitter must do and keeps the exterior work simpler. No new hole in the wall, no second run of sealant, no power tap to hunt for behind the panel.
Five minutes with a screwdriver
Spend five minutes at the back of your camper and you can tell if it is pre-wired. Start by standing level with the rear window and working left to right. Look for a small plate or cover above the window. Gently press or lift the plate to see if it comes free. If it does not, look for screws or a seam showing where the cover sits.
If you can remove the cover you should find a short lead and a connector tucked behind it. That connector is the telltale sign of pre-wiring. If the cover is present but there is no lead behind it then the unit is bracket-ready rather than pre-wired. In that case the bracket hole and plate are fitted but power still has to be taken from the running lights when you install a camera.
Also check the bracket itself. You will see screws bolting a mounting plate through the back wall above the window. The presence of sealed edges around the plate points to the factory hole and seal. If the plate is missing but there is a plain bracket you may still be able to use it, but power and sealing work will be additional tasks. Finally, look inside for any loose cable tucked behind trim near the plate. Finding the connector and a tidy lead is confirmation that the three factory steps have been done.
What is still missing when the answer is yes
When the camper is pre-wired the list of items you need is short. The camera itself, a short adapter known as a pig tail plug to join the camera's connector to the factory lead, and a monitor if you do not already have one. The pig tail plug is a simple adapter that costs a few dollars and replaces no cable. It connects the camera’s connector to the factory lead behind the cover so you do not splice or extend wires.
Choose a camera that matches the bracket pattern on your camper. A camera built for that pattern drops onto the bracket and is held by the same screws that are already in place. That avoids drilling and resealing. Cameras available for these kits are 1080p with infrared night vision. Several outdoor housings are rated IP69K for protection in demanding conditions.
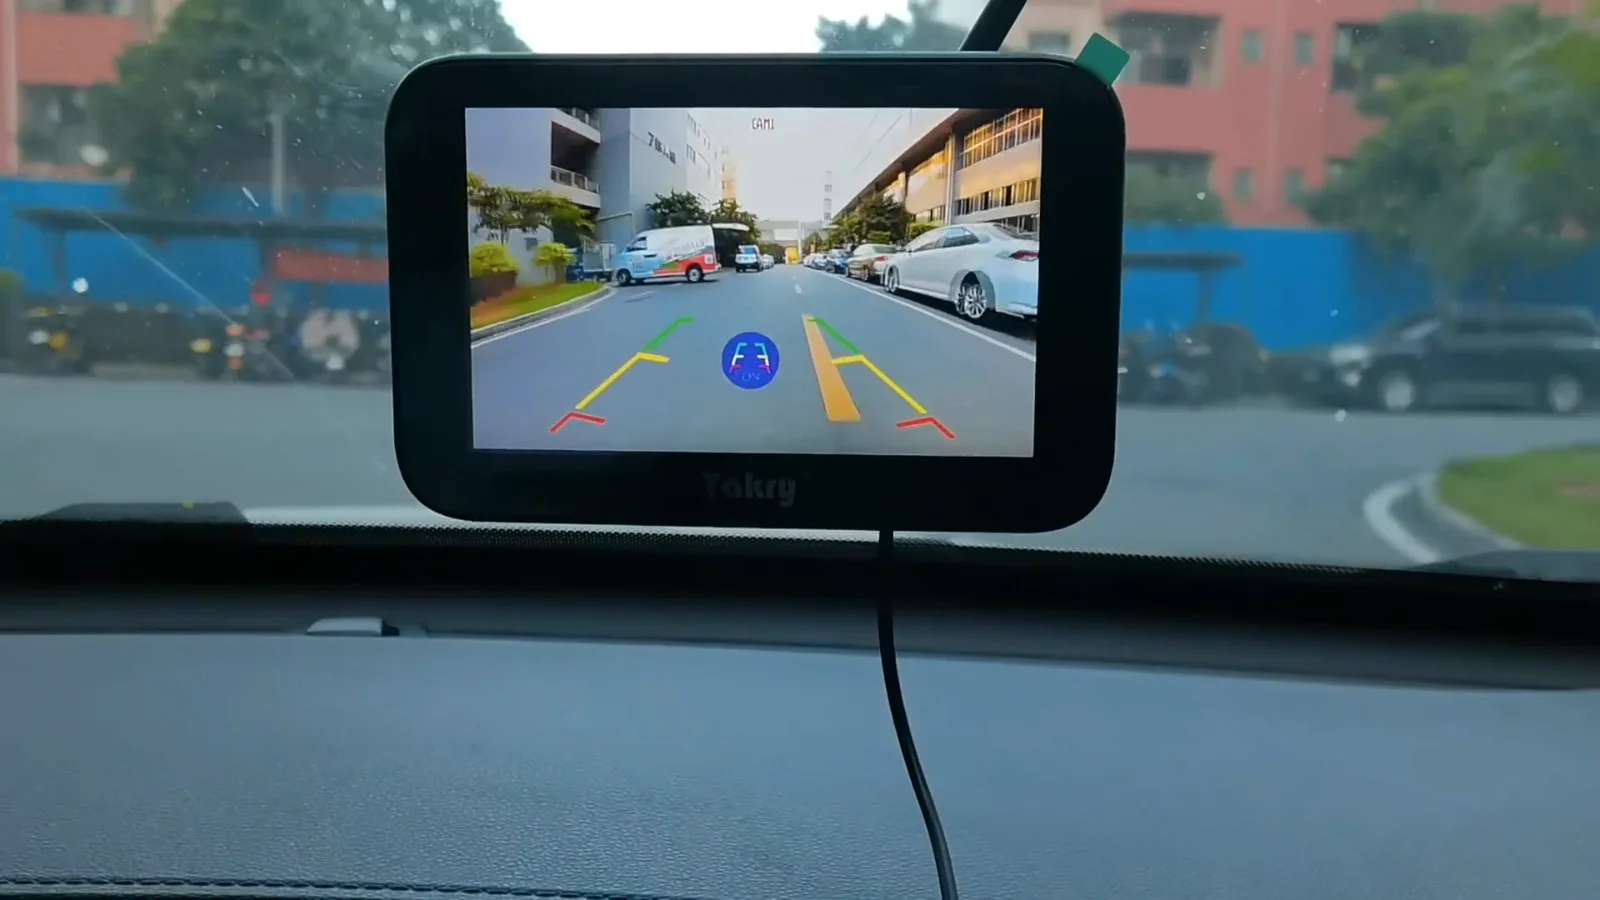
Monitors in this range accept a second camera and will split the screen to show both views. Some monitors can take up to four cameras. The link between camera and monitor in these kits is 2.4 GHz. That wireless link means you avoid running a long video cable from the rear to the cab. A wired option is unnecessary when the kit is designed to use the factory lead and a wireless video link. Install work when pre-wired is mostly fitting the camera, plugging in the pigtail, and mounting the monitor.
The longer job, when there is no bracket
If the camper is not pre-wired the job becomes more involved. You start by choosing the mounting height and the exact center point for the camera. Next you drill the hole through the bodywork, taking care to make a neat opening where a sealed gland can be fitted. After the hole is cut you seal it against water ingress. The seal and finishing work are important for long term weather resistance.
Power then needs to be routed to the camera location. You can run a cable inside the wall from an interior power point, or you can take power from the running lights. Taking power from the running lights usually means opening the light housing and identifying a suitable feed to switch the camera on with the vehicle lights. Running a cable through the interior is tidier but takes more time and trimming of interior panels.
The camera is mounted to its own bracket, secured with new screws, and the exterior seal is completed. A monitor in the cab needs either a video cable run to it or a wireless transmitter at the camera. One fed from the reversing light wakes only in reverse. If you prefer the monitor to stay on while towing it must be fed from a 12V socket. Without the factory hole and lead the installation includes drilling, sealing, routing and more electrical work.
Why the bracket sits above the window
The bracket is located high, above the rear window, for a simple reason. From that height the camera looks down the length of the rig and captures the area immediately behind and along the sides. That perspective differs from bumper-level cameras that nod more at close obstacles. A high mount gives a longer, more useful sightline for reversing into a pitch or aligning with a towing hitch.
Placing the camera above the window reduces blind spots close to the vehicle’s rear edge. You get more of the ground behind the camper in the frame while also seeing vehicles or obstructions that sit some distance away. The angle compresses distance visually. You will still need to learn the camera’s perspective for judging exact gaps, but the view is chosen to help with positioning rather than replacing mirror checks.
Weather exposure influences the chosen position too. The bracket is protected by the top edge and usually sits in a spot that sheds rain quickly. This assists housings rated IP69K in staying sealed and keeping the lens clear. For campsite use the high viewpoint is generally a practical compromise between seeing long range and protecting the unit on the rear face of the camper.
Before you order, and the monitor to pick
Before you order anything take a quick checklist and a short decision run. Confirm whether the camper is pre-wired, bracket-ready, or not pre-wired. Inspect the small plate above the rear window and look behind it for a connector on a short lead. If that connector is present you only need the camera, a pig tail plug, and a monitor if required. If the cover is present and empty then plan to take power from the running lights or arrange for a wiring run.
Decide how you will power the monitor. A monitor wired to the reversing light will wake only when reversing. If you want the monitor to remain on while towing choose one that can be fed from a 12V socket. Think about future expansion. If you may add a second camera later pick a monitor that accepts two inputs and can split the screen. Some monitors accept up to four cameras. Picking a multi-input monitor now saves reworking the cab later.
Finally, remember the wireless link operates at 2.4 GHz. Under 47 CFR 15.5 an unlicensed radio must accept interference from other radios and from industrial, scientific and medical equipment. That matters most on a full campsite where many radios are active. If you expect heavy radio traffic consider a monitor and camera combination that handles multiple feeds reliably. With these checks done you can order the camera, the small adapter plug, and the monitor that fits how you plan to use the system.